How to Make Wax Seals: Step-by-Step Guide
The use of wax seals probably conjures up thoughts of ‘olde England’ and people sending letters in TV shows such as Game of Thrones. They can also make a fantastic, creative talking point for party invites or add a touch of class to a wedding invite. Here’s the Viking step-by-step guide to making your own wax seals at home.
What you’ll need:
Step One
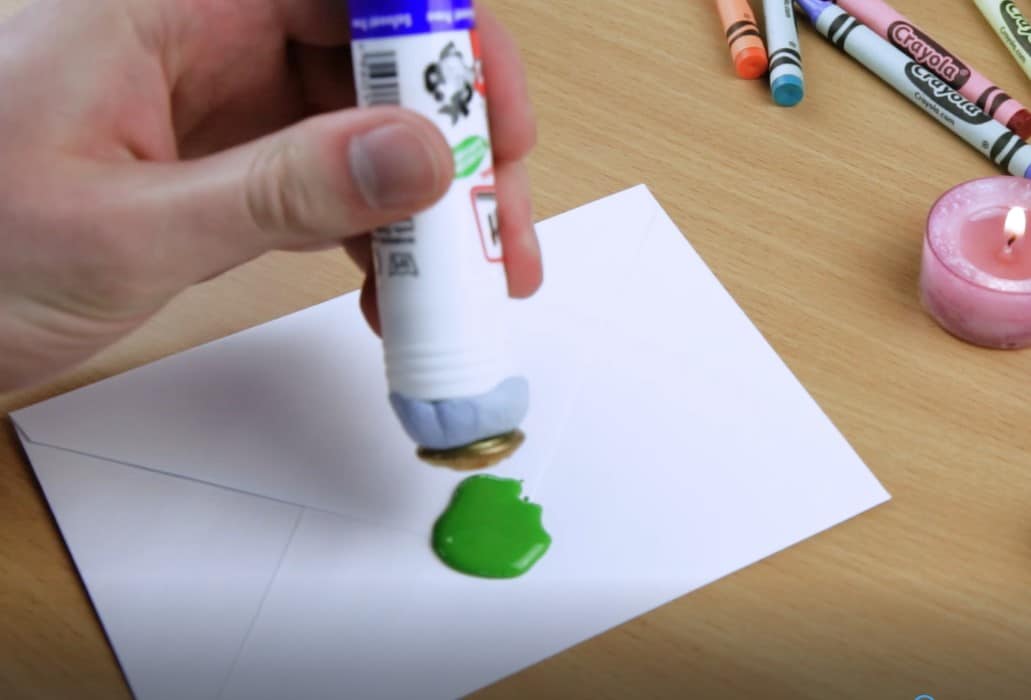
Affix the Blu-Tac to the top of the glue stick, you can then choose the button that you’d like to use to create the imprint in your wax seal. Once you’ve picked a button with the perfect pattern for you, stick it to the Blu-Tac. This will be used later when you’re ready to stamp.
Step Two
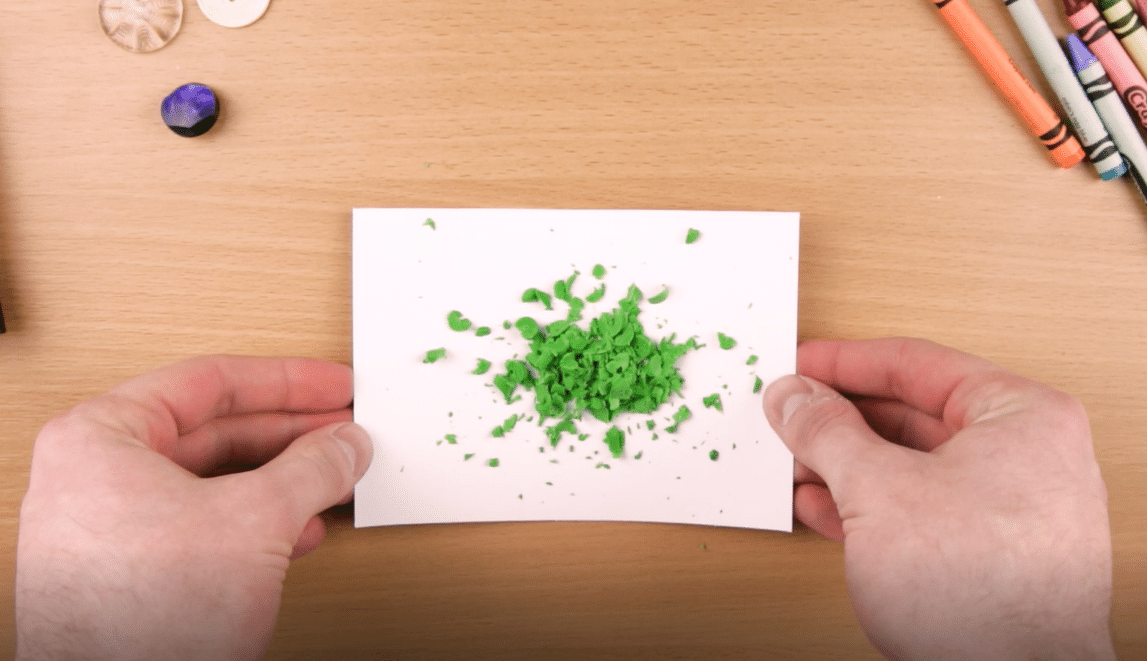
Take your preferred colour of crayon and use the knife to shave it down into small pieces. Do the pieces onto a piece of paper so that they can easily be moved onto the spoon in preparation for melting down.
Step Three
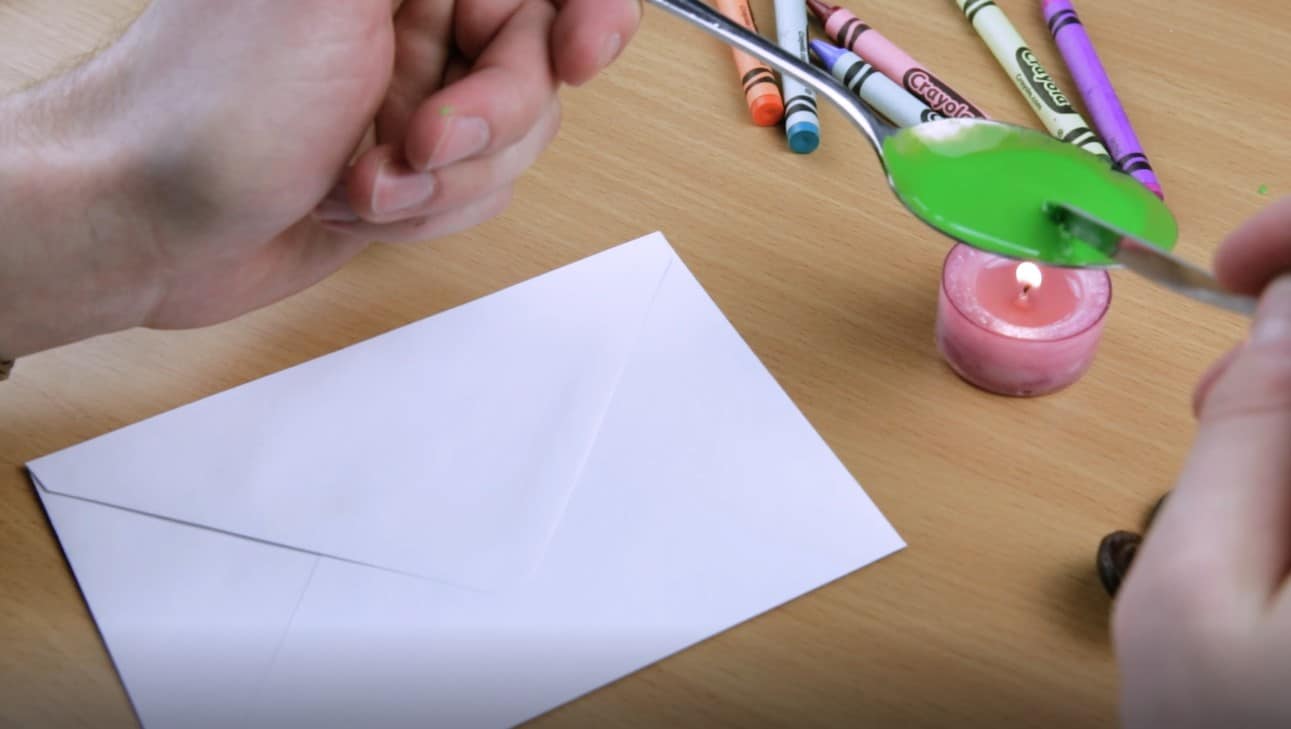
Prepare your spoon, lighter and tealight candle. You’ll need these to melt down your wax. Light your candle and carefully move the wax onto the spoon. Then hold the spoon over the candle until the wax has completely melted. At this point you can prepare your envelope to add your wax stamp.
Step Four
Carefully pour the wax onto the back of the envelope, where the back flap makes a point. Be sure to do this carefully and slowly, ensuring the wax only sits in the area where you want to stamp it. Now you’re ready to use the stamp that you created earlier. As the wax begins to dry, gently but firmly press the stamp against the wax to create your indentation.
Step Five
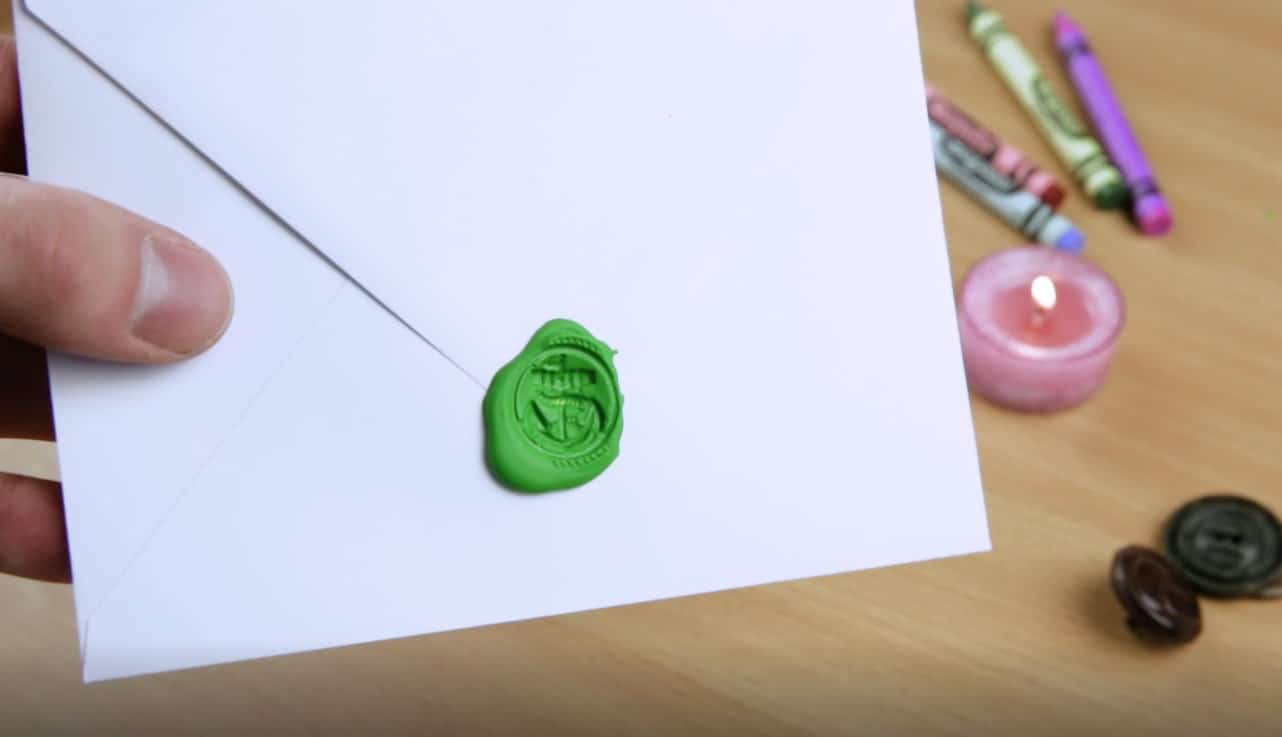
Hold your stamp in place for five seconds before carefully removing, making sure the wax has properly dried and you don’t pull it away with the stamp. Once you’ve done this, you have your wax seal!


